In this package has a core HTTP structure that facilitates webhook management for Telegram bots. It is compatible with various frameworks (Express, Fastify, Koa, Hapi) and provides a set of tools you can use to manage and log your bots messages.
You can manage all your workers in a single group, or each worker in their own private chat window. If you planing to manage in a group, your main worker should have the permission to read the messages in the group *considering that all messages will be logged simultaneously on your server.
You can inspect Telegram setWebhook attributes from the official documentation.
Listens and processes webhook requests from Telegram bots.
Supported with examples using the starter structure of each framework for easy implementation.
Optionally configurable logging function is used to log all messages by default.
Core based has message deletion and message sending functions available for each worker.
Scalable bot configuration
Seamless and optional NGROK integration (re-tunnelled on every run for every employee.)
Typescript workspace ready to build.
Get a package according to the framework you are using. Core package should be preferred in Node HTTP environment.
⚠️ WARNING: This package is tested ESM only. In Node.js (version 18+), install with npm according to your framework:
CORE
1npm i telegram-hooker/core
EXPRESS
1npm i @telegram-hooker/express
FASTIFY
1npm i @telegram-hooker/fastify
KOA
1npm i @telegram-hooker/koa
HAPI
1npm i @telegram-hooker/hapi
Note that you must add at least one bot before you build the project. To get details about your main worker’s telegram configuration, make a GET request with
any tool to the following endpoint with the API key of the bot you created via BotFather.
⚠️ NOTE: Response similar to the following response will be returned in result to the request sent.
GET
1GET https://api.telegram.org/bot123456:ABC-DEF1234ghIkl-zyx57W2v1u123ew11/getMe
RESPONSE
 1{
 2  "ok": true,
 3  "result": {
 4    "id": 0123456789, /* This is a chatId */
 5    "is_bot": true,
 6    "first_name": "BotName",
 7    "username": "NameBot",
 8    "can_join_groups": true,
 9    "can_read_all_group_messages": true,
10    "supports_inline_queries": false,
11    "can_connect_to_business": false,
12    "has_main_web_app": false
13  }
14}
When you create a group, you can access the groupId key by default if there is only one administrator in the group. So remember to store the groupId key immediately after creating the group. This may become a need in your future developments.
To access superGroupId, bot must have administrator privileges in group where is in. If you meet these requirements, send a message to the group where the bot is located.
Then send a GET request to the following endpoint.
⚠️ NOTE: Response similar to the following response will be returned in result to the request sent.
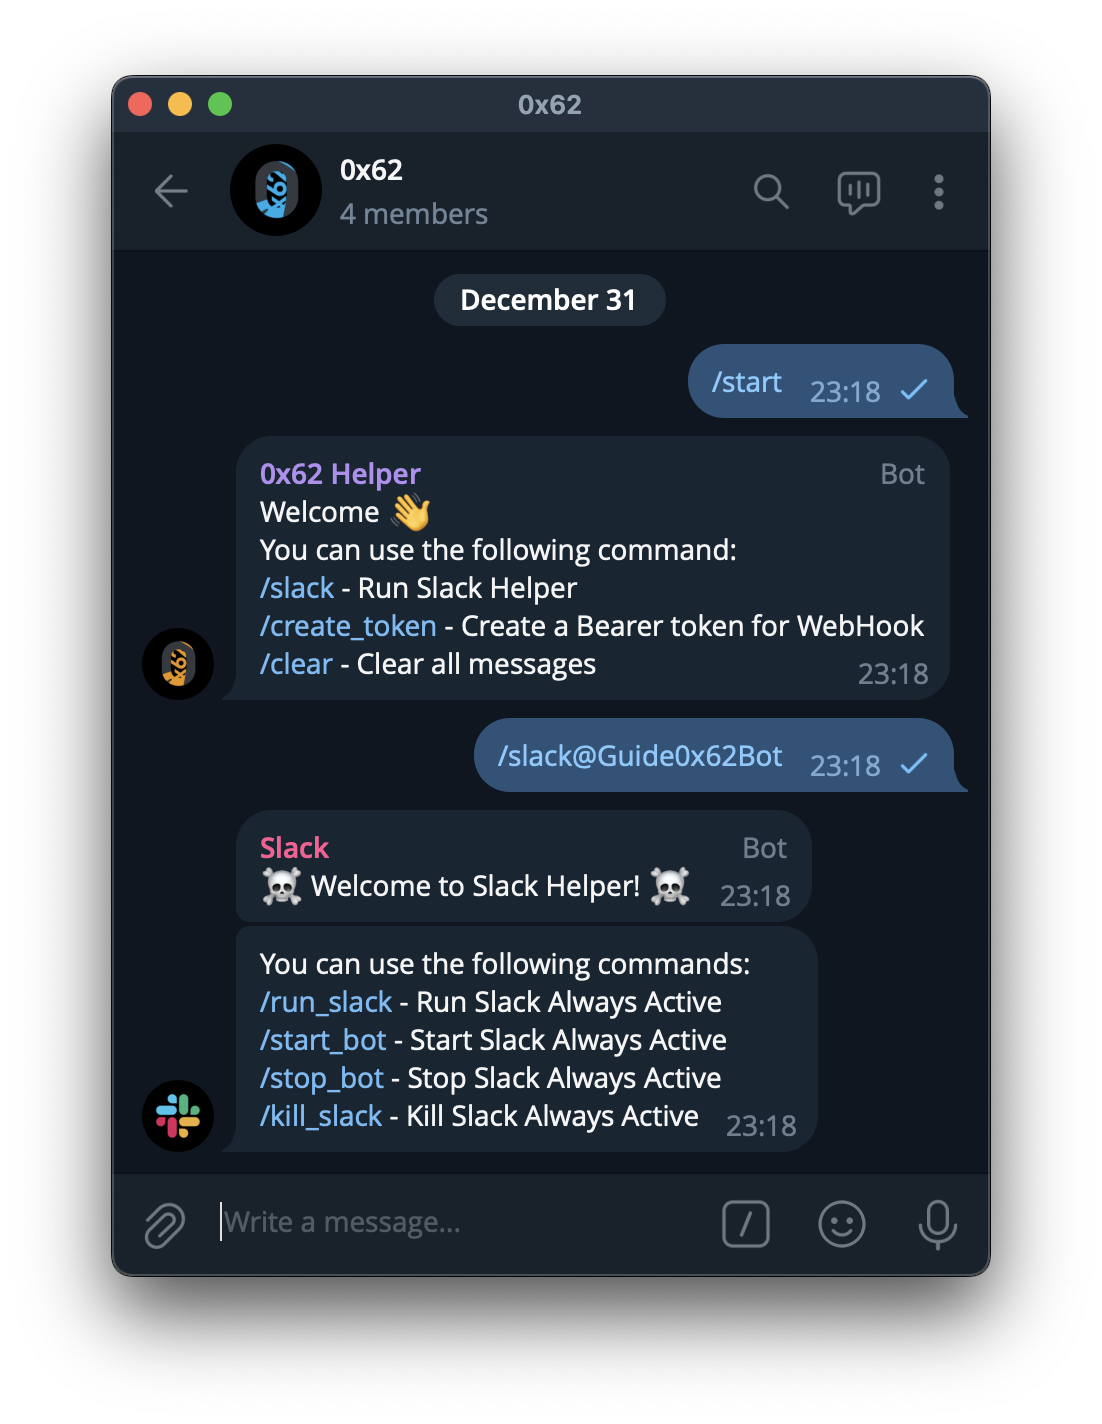
If you don’t get the expected answer, be sure to /start the bot via private chat.
GET
1GET https://api.telegram.org/bot123456:ABC-DEF1234ghIkl-zyx57W2v1u123ew11/getUpdates
RESPONSE
 1{
 2  "ok": true,
 3  "result": [
 4   {
 5      "update_id": 0123456789,
 6      "message": {
 7        "message_id": 4883,
 8        "from": {
 9          "id": 0123456789, /* Your chatId */
10          "is_bot": false,
11          "first_name": "D",
12          "username": "arg0WAK",
13          "language_code": "en"
14        },
15        "chat": {
16          "id": -1000123456789, /* This is a superGroupId */
17          "title": "0x62",
18          "type": "supergroup"
19        },
20        "date": 1735604231,
21        "text": "Hello, Github!"
22      }
23    }
24  ]
25}
Access your installRoute (eg: /webhook/specify-your-route/install) and drop a post request with the token you defined. Make all your
workers ready for communication via the hook you created.

Once implemented, the @telegram-hooker package provides you with a number of packages that you can use. These packages help you perform a number of
functions to process messages from your workers and build various structures.
There are basically 2 middleware functions and 4 standard functions.
Middleware functions
createHook()
createRoute()
handleRequest()
Standart functions
sendMessage()
deleteMessage()
removeAllMessage()
log()
Implement a create hook function to your project. If you are using a Typescript environment, make sure you specify the appropriate type for the framework you depend on.
The following example reflects its use in a simple node-http environment. Refer to examples for other frameworks.
Configure createHook function
 1/* Create a new hook tree */
 2const worker: TelegramHookerCore = createHook({
 3  port: port, /* Define your server port */
 4  proxy: false, /* If you want to use a proxy, define your URL with a string type in the proxy key (e.g. 'https:/*proxy.arg0.dev') */
 5  installRoute: '/webhook/specify-your-route', /* Recommended usage starts with '/webhook' (e.g. '/webhook/arg0WAK') */
 6  token: 'a1b2c3d4e5f6g7h8i9j0k1l2m3n4o5p6q7r8s9t0u', /* Define your bot token for Frontend API */
 7  ngrokAuthToken: 'NGROK_AUTH_TOKEN', /* Define your ngrok authtoken */
 8  enableFileLogs: true, /* If you want to save logs of messages received from Telegram */
 9  enableCommandLineLogs: false, /* If you don't want to see logs in the console */
10  logsDirectory: 'logs/arg0', /* Define the directory for logs this worker */
11  groupId: '-1234567890', /* Define your group id */
12  superGroupId: '-123456789124', /* Define your supergroup id */
13  workers: {
14    /* Define your main worker (You must have at least one main worker.) */
15    main_worker: {
16      userName: 'MainBot', /* Define your worker username */
17      token: 'a1b2c3d4e5f6g7h8i9j0k1l2m3n4o5p6q7r8s9t0u', /* Define your worker token */
18      chatId: '-123456789' /* Define your chat id */
19    }
20  },
21  ipAddress: '142.250.189.238', /* Define your server IP address (e.g. '142.250.189.238') */
22  handShake: true, /* If you want to use a certificate, set it to true and define the path to the certificate */
23  certificatePath: 'path/to/certificate.pem', /* If handShake is true you must define the path to the certificate */
24  maxConnections: 100, /* Define the maximum number of connections */
25  dropPendingUpdates: true, /* If you want to drop pending updates, set it to true (recommended) */
26  /* Define the allowed updates (probably you need to only use 'message' and 'callback_query') */
27  allowedUpdates: [
28    'message',
29    'edited_message',
30    'channel_post',
31    'edited_channel_post',
32    'inline_query',
33    'chosen_inline_result',
34    'callback_query',
35    'shipping_query',
36    'pre_checkout_query',
37    'poll',
38    'poll_answer',
39    'my_chat_member',
40    'chat_member'
41  ],
42  secretToken: true /* If you want to use a secret token equal Bearer token, set it to true. Otherwise, you can define different token */
43})
⚠️ WARNING: That’s function only will use in Express, Fastify, Koa, Hapi frameworks.
EXPRESS
1/* Handle webhook requests */
2app.use('/', worker.createRoute()) // Its will be work like a middleware
FASTIFY
1/* Handle webhook requests */
2fastify.register(worker.createRoute) // Its will be work like a middleware
KOA
1/* Handle webhook requests */
2worker.createRoute(app) // Its will be work like a middleware
HAPI
1/* Handle webhook requests */
2worker.createRoute(server) // Its will be work like a middleware
⚠️ WARNING: That’s function only will use in Node HTTP environment.
NODE HTTP
1/* Handle webhook requests */
2worker.handleRequest(req, res) // Its will be work like a middleware
⚠️ TIPS:: The logic is simple. When sending the API request, it goes as
message.message_id. So if you don’t have the id of your own messages, you can’t delete them. So you should include these messages in your logs in json format.
FUNCTION
1await worker.log(message, 'messages.json')
⚠️ WARNING: In order to delete the messages sent by
isBot=falseusers, you need to save the post requests sent to the endpoint of the main_worker user in json format using theworker.log()function viareq.body.message.
FUNCTION
1await worker.deleteMessage(chat, worker.config.logsDirectory, 'LOG_FILE_NAME.json', <Number(MESSAGE_ID)>, worker.config.workers.main_worker.token)
⚠️ WARNING: If the
enableLogFileparameter is set to true, the message sent will also be saved in thelogsDirectory/messages.jsonfile.
FUNCTION
1await worker.sendMessage(chat, worker.config.workers.main_worker, 'Hello World!')
FUNCTION
1await worker.removeAllMessage(chat, worker.config.logsDirectory, 'LOG_FILE_NAME.json', worker.config.workers.main_worker.token)
The package is written in typescript. Therefore, if you want to use the package in a typescript project, you should be aware that types have different names depending on the package.
Fortunately, you only need to pass a type to the createHook function. Here is the type configuration you should use when defining createHook for each environment.
Core
1import TelegramHookerCore, { createHook } from '@telegram-hooker/core'
2
3const worker: TelegramHookerCore = createHook({
4    /* ... */
5})
The package is written in typescript. Therefore, if you want to use the package in a typescript project, you should be aware that types have different names depending on the package.
Fortunately, you only need to pass a type to the createHook function. Here is the type configuration you should use when defining createHook for each environment.
Express
1import TelegramHookerExpress, { createHook } from '@telegram-hooker/express'
2
3const worker: TelegramHookerExpress = createHook({
4    /* ... */
5})
The package is written in typescript. Therefore, if you want to use the package in a typescript project, you should be aware that types have different names depending on the package.
Fortunately, you only need to pass a type to the createHook function. Here is the type configuration you should use when defining createHook for each environment.
Fastify
1import TelegramHookerFastify, { createHook } from '@telegram-hooker/fastify'
2
3const worker: TelegramHookerFastify = createHook({
4    /* ... */
5})
The package is written in typescript. Therefore, if you want to use the package in a typescript project, you should be aware that types have different names depending on the package.
Fortunately, you only need to pass a type to the createHook function. Here is the type configuration you should use when defining createHook for each environment.
Koa
1import TelegramHookerKoa, { createHook } from '@telegram-hooker/koa'
2
3const worker: TelegramHookerKoa = createHook({
4    /* ... */
5})
The package is written in typescript. Therefore, if you want to use the package in a typescript project, you should be aware that types have different names depending on the package.
Fortunately, you only need to pass a type to the createHook function. Here is the type configuration you should use when defining createHook for each environment.
Hapi
1import TelegramHookerHapi, { createHook } from '@telegram-hooker/hapi'
2
3const worker: TelegramHookerHapi = createHook({
4    /* ... */
5})
